 SafeBOT

Mooring Boat Cover Guide: Wet-Slip Fit, Drainage & Dock Access
Choose and use a mooring boat cover with fewer wet-slip problems. Check dock access, line clearance, drainage, ventilation, chafe points, fit, and custom-cover needs.

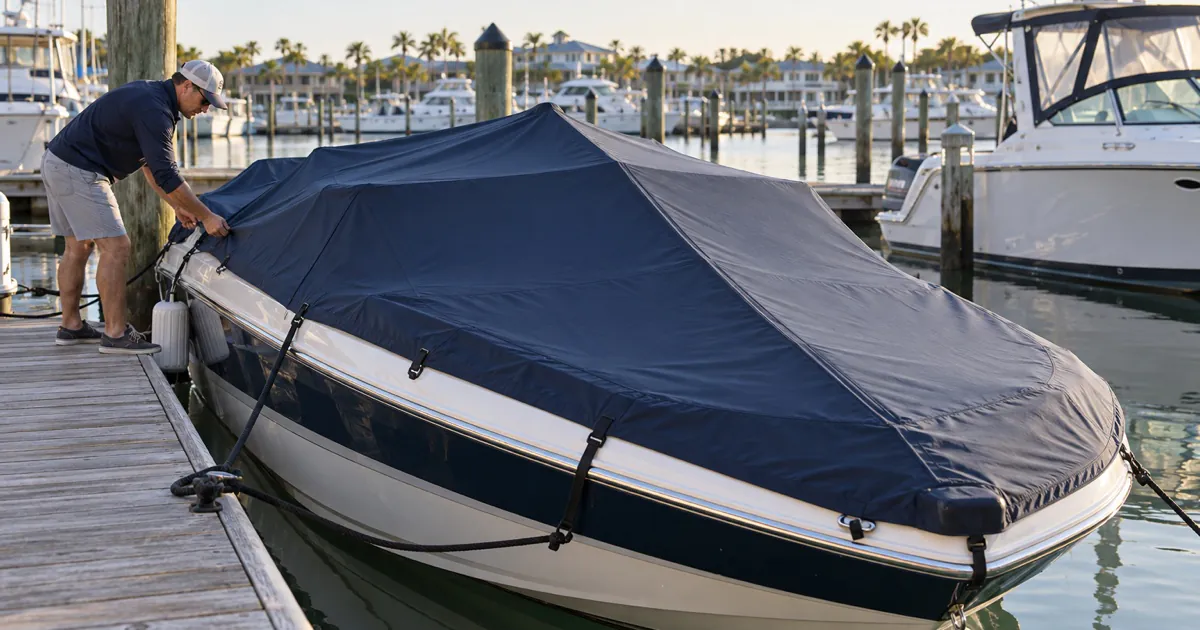
A mooring boat cover has a harder job than simply keeping dust off a parked boat. It must be practical to install from a dock, work around dock lines and hardware, shed rain while the boat moves in the slip, and let damp air escape between visits. A cover that looks acceptable on a trailer can become frustrating at the marina if you cannot reach the far side, clear the cleats, or build enough slope to stop pooling.
The best setup starts with the way your boat actually sits in the slip. Measure the boat, map every obstruction, decide how you will reach each attachment point, and choose a cover designed for that use. If the boat has a tower, T-top, tall windshield, rails, or unusual dock access, a custom mooring cover may be the safer choice.
Quick answer: what should a mooring boat cover do?
A useful mooring boat cover should fit closely enough to resist movement, create a supported slope so rain runs off, keep dock lines and required hardware accessible, protect known chafe points, and provide a path for moisture to escape. It also needs an installation method you can manage safely from the dock without climbing over a loosely covered boat.
Those requirements are different from highway trailering. A trailerable cover is built around road-speed airflow and tie-down routing to a trailer. A mooring cover is installed while the boat is afloat and must account for dock access, changing water level, wakes, lines, fenders, and an unattended boat moving in the slip.
Mooring cover vs. trailerable cover
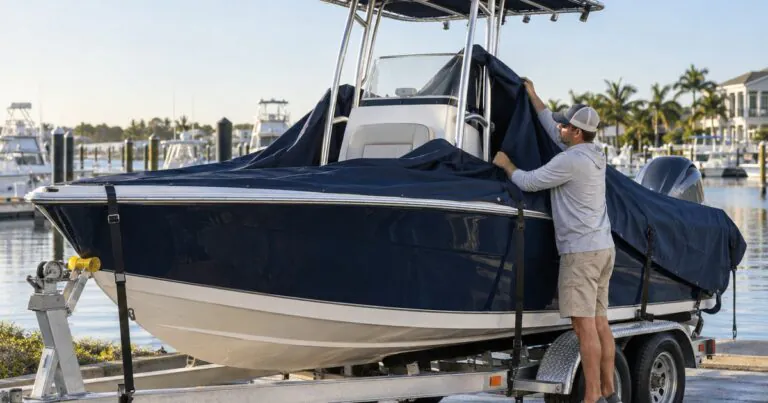
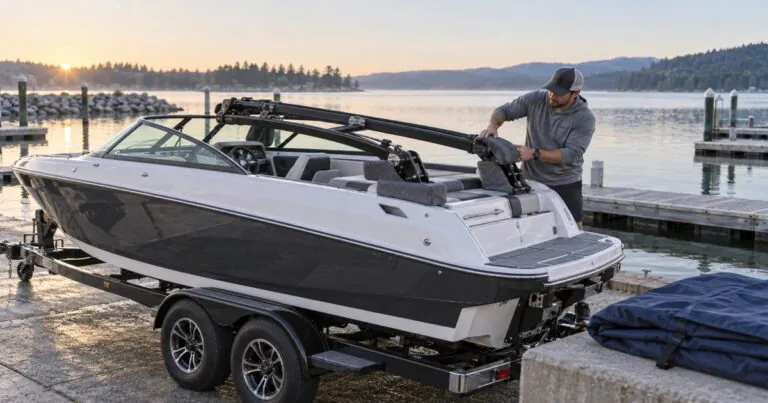
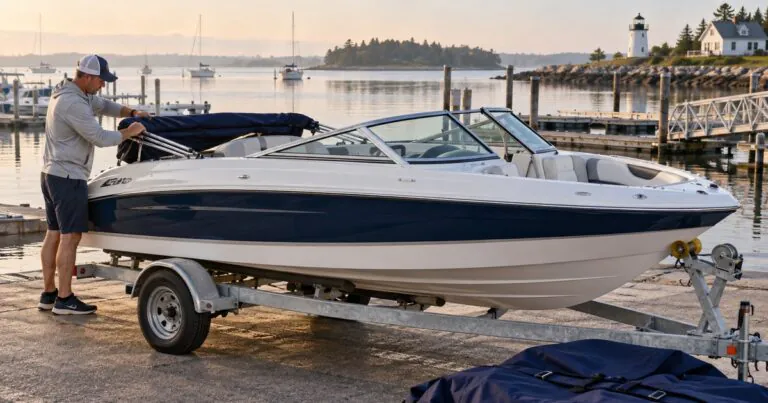
The names describe the intended use, not just the shape. A cover that is secure on a trailer may rely on straps that run beneath the hull or attach to the trailer frame. Those attachment points may be unreachable once the boat is in the water. A mooring cover often uses snaps, perimeter fasteners, poles, bows, or another system that can be handled from inside the boat and from the dock.
- Mooring use: access from a dock, dock-line clearance, rain runoff, ventilation, wake movement, and periodic marina checks.
- Trailering use: road-speed airflow, balanced tie-down tension, trailer-safe strap routing, and short-tow inspections.
- Outdoor storage on land: support, drainage, wind exposure, ventilation, pests, and access for inspections.
Some covers may support more than one use, but do not assume that from appearance alone. Follow the cover maker’s instructions. Safeboatz Storm Series covers are current trailerable-cover options; this guide does not claim universal wet-slip compatibility for them. Use the product pages as a measurement and construction comparison, then confirm whether your specific marina setup needs a dedicated mooring or custom cover.
Start with dock access, not the size label
Length and beam still matter, but the first practical question is how you will put the cover on. Walk the dock and picture the full installation. Can you reach the far-side fasteners? Is there finger space behind the windshield or rails? Will you need to step onto the boat after part of the cover is already installed? Is that step still safe when the deck is wet?
Measure the boat before shopping, including the centerline length, beam, windshield or console height, bow profile, swim platform, outboard clearance, rails, and permanent hardware. The Safeboatz boat-cover measuring guide explains those checks in more detail.
- Mark which side of the boat sits against the dock.
- Note whether the slip has finger piers on one side or both sides.
- Identify any fastener you cannot reach without boarding.
- Check how the cover will pass around rails, windshield frames, antennas, towers, and T-top legs.
- Plan a safe sequence for installing the support system before the perimeter is fully closed.
Keep dock lines, cleats, and fenders clear
Your dock lines must continue doing their job after the cover is installed. A cover should not force a line into a sharp bend, bury an attachment point that needs inspection, or rub continuously against a cleat. The same applies to fender lines and any spring line used to control fore-and-aft movement.
Before ordering, photograph each line and cleat from the dock. Measure their positions from a fixed point on the boat. If the cover needs reinforced openings, collars, zippers, or split seams around those areas, the measurements should reflect the boat’s normal mooring arrangement rather than a temporary setup.
After installation, watch the boat for a few minutes as wakes move through the marina. Look for a dock line sawing against fabric, a fender lifting the hem, or the cover tightening over a cleat as the boat shifts. Small movement at the dock can create a focused wear point over time.
Build slope before the first hard rain
Pooling is one of the fastest ways to turn a decent cover into a strained one. Water adds weight, stretches low areas, and can pull the perimeter away from its intended position. A mooring cover needs enough supported pitch to drain even when the boat rocks or settles slightly differently in the slip.
Use the support system intended for the cover. That may be a center pole, several poles, bows, a ridge line, or a fitted internal frame. Do not create one sharp tent peak and leave broad flat sections around it. The goal is a smooth path for water to reach the edges without collecting behind a windshield, console, bow seat, or rear bench.
The boat-cover support pole guide covers height, pressure points, and runoff. Install the cover, test it with controlled water, then adjust the low areas before leaving the boat unattended.
Ventilation matters more in a wet slip
A boat in the water lives in a humid environment. Wet lines, damp gear, wash water, rain, and temperature swings can all add moisture under the cover. Ventilation does not replace drying, but it gives warm, damp air a path out instead of trapping it against upholstery and storage compartments.
Before covering, remove wet towels and life jackets, wipe standing water, and give enclosed compartments time to air out. Keep vents near supported high points rather than in low valleys. The boat-cover vents guide explains how vents, support, and cover shape work together.
The U.S. Environmental Protection Agency’s general mold guidance emphasizes moisture control and drying damp materials. The same basic habit is useful on a boat: remove the moisture source instead of expecting one vent or treatment to solve a persistently wet setup. See the EPA moisture and mold guide.
Check every likely chafe point
A moored boat does not stay perfectly still. Wind, wakes, changing line tension, and people moving on nearby docks can shift the boat and cover. Inspect anywhere the fabric crosses a hard edge: windshield corners, rub rails, cleats, rail bases, antennas, rod holders, T-top supports, tower joints, navigation-light bases, and swim-platform hardware.
Padding should be smooth, secure, and placed so it cannot trap water against the surface. Do not solve movement by overtightening one area. Excess tension can move the stress to a seam or fastener. The boat-cover chafing guide shows how to inspect contact points and distinguish a local rub problem from a broader fit issue.
When a custom mooring cover is the better call
A universal cover can work for a simple hull with clear access and modest hardware. A custom cover becomes more attractive when the installation has too many exceptions. That includes fixed towers or T-tops, unusual rails, hard-to-reach fasteners, snap patterns already installed on the boat, complex dock-line openings, or a windshield and seating layout that creates several pooling zones.
Custom does not automatically mean problem-free. Ask how the cover handles support, ventilation, line openings, repairs, and installation from your specific dock. If the canvas shop can inspect the boat in its normal slip, that can reveal access problems that are easy to miss from measurements alone.
Mooring cover buying checklist
- Measure centerline length, beam, height, platforms, and outboard clearance.
- Map the normal dock-line, cleat, and fender positions.
- Confirm you can reach every fastener safely from the dock or boat.
- Choose a support system that creates continuous runoff, not one isolated peak.
- Protect windshield corners, rails, hardware, and other chafe points.
- Plan ventilation and dry the boat before covering.
- Verify the cover’s intended use instead of assuming a storage or trailer cover is suitable in a slip.
- Test the setup with water and observe it while the boat moves.
- Schedule a check after the first hard rain and after major wind or wake events.
If you are still comparing marina and land storage, read the marina slip vs. trailer storage guide. It covers cost, access, towing, inspections, and the different routines each storage choice requires.
Where Storm Series fits into the decision
The current Safeboatz Storm Series is built around trailerable cover use. The Storm Series 17-19 ft trailerable boat cover and Storm Series 20-22 ft trailerable boat cover can help you compare size ranges and ratchet-secured trailerable-cover construction. They are not presented here as universal mooring-cover solutions.
If your boat remains in a wet slip, match the cover to the marina setup first. Dock access, line clearance, support, ventilation, and hardware openings may lead you toward a dedicated mooring cover or custom canvas even when the boat’s length and beam fit a standard size range.
FAQ
Can I use a trailerable boat cover as a mooring cover?
Only if the manufacturer allows that use and the attachment system works safely while the boat is afloat. Trailer-frame straps may be unreachable in a slip, and the cover may not provide openings for dock lines or marina access.
Should a mooring cover go over the dock lines?
Do not arrange the cover in a way that interferes with the boat’s secure mooring. Lines and cleats should remain functional and inspectable. A fitted opening or another cover design may be needed where lines cross the perimeter.
How do I stop water pooling on a mooring cover?
Use the intended poles, bows, ridge line, or frame to create continuous slope. Test the installed cover with controlled water and correct every low spot before leaving the boat unattended.
Does a mooring cover need vents?
Ventilation is useful in a humid wet-slip environment, but vents work only as part of a dry, supported setup. Remove wet gear, dry the boat, keep vents near raised areas, and inspect after rain.
Is a snap-on cover better than straps at a marina?
It depends on the boat and dock access. Snaps can create a clean perimeter when they are correctly positioned and reachable. Straps may offer flexibility but can be difficult to route from a slip. Judge the system by safe installation, support, line clearance, and serviceability.
A better wet-slip routine
Install the cover while you still have time to watch it. Check the dock lines, test the runoff, open it after the first rain, and look for damp pockets or fresh rub marks. That short trial tells you more than a size label. Once the setup is stable, keep a simple inspection routine for storms, heavy marina traffic, and long gaps between visits.
For a broader storage and protection checklist, download the free Safeboatz Boat Protection Guide.
Boating Enthusiasts — Join the Crew!
Free Boat Protection Guide Download Yours Now
Get your free copy of The Complete Boat Protection Guide — expert tips, real-world strategies, and exclusive insights from the Safeboatz team.