![]()
Weather-Safe Ratchet Boat Cover: Fit, Tension & Storage Guide
Weather-Safe Ratchet Boat Cover: Fit, Tension & Storage Guide A weather-safe ratchet boat cover should help the cover stay seated, reduce loose fabric, and
Weather-Safe Ratchet Boat Cover: Fit, Tension & Storage Guide
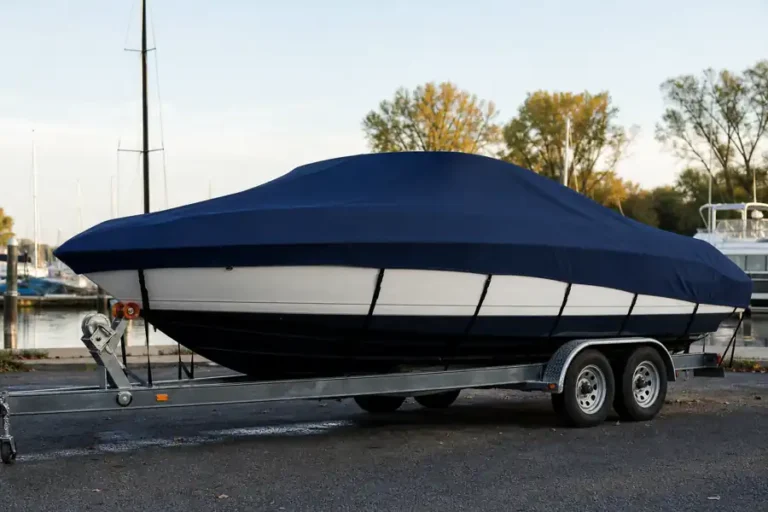
A weather-safe ratchet boat cover should help the cover stay seated, reduce loose fabric, and make installation repeatable. The ratchet is not a magic feature by itself. It works only when the cover fits the boat, the support system prevents pooling, and the straps are routed correctly.
This guide explains how to choose, install, tension, and maintain a ratchet-style cover for trailering or outdoor storage without relying on vague “storm proof” claims.
What a ratchet system actually does
A ratchet system gives you a controlled way to tighten the cover around the hull or tie-down points. Compared with loose rope or a basic elastic hem, it can make tension more repeatable. That helps reduce flapping, lifted edges, and slack fabric when the cover is installed correctly.
- Better tension control: tighten gradually instead of guessing with knots.
- Cleaner fit: the hem can sit closer to the hull when the size is right.
- Faster reinstall: repeatable strap routing makes seasonal use easier.
- Trailering support: useful for covers intended by the manufacturer for road use.
It does not replace measuring, support poles, ventilation, or inspection. A poorly sized cover with a ratchet can still flap, pool water, or strain seams.
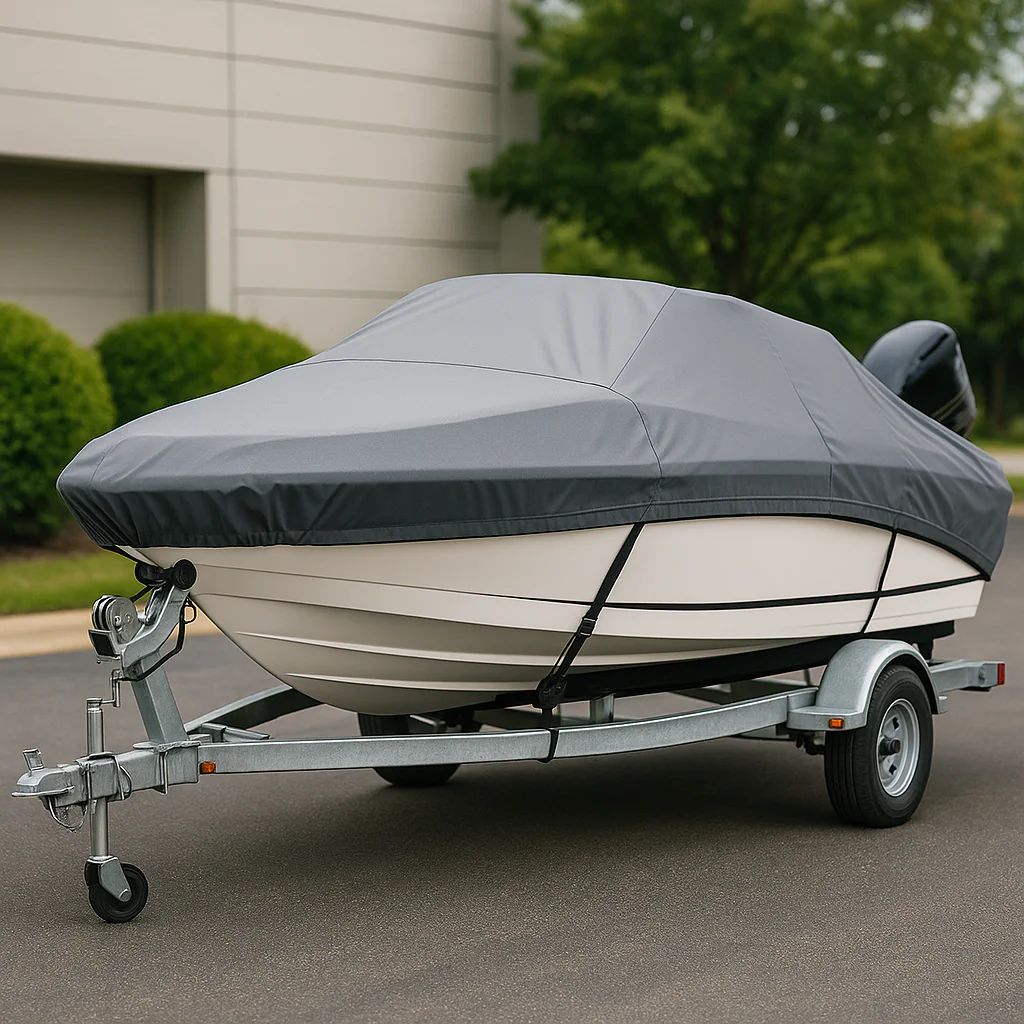
Measure before choosing a ratchet cover
Measure overall length, beam, console height, windshield height, rails, outboard position, and accessories that change the boat profile. A cover that is close in length but wrong in beam may leave gaps or create stress points when tensioned.
Start with the Safeboatz measuring guide. If your boat falls in the current Storm Series ranges, compare the 17–19 ft cover or the 20–22 ft cover.
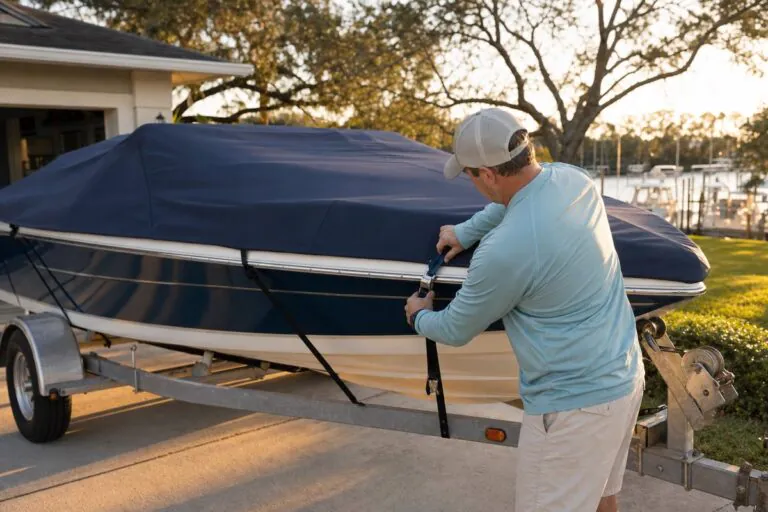
Installation checklist
- Clean grit, leaves, and sharp debris from the boat before covering.
- Place the cover evenly from bow to stern.
- Align reinforced areas with likely contact points.
- Seat the hem before tightening straps.
- Route straps away from sharp trailer edges and moving parts.
- Tighten gradually on both sides rather than fully tightening one point first.
- Secure loose strap ends so they cannot whip in wind or while towing.
How tight should it be?
The cover should be smooth and supported, not stretched like a drum. If a seam, grommet, or corner is pulling hard, loosen the system and correct the fit or routing. Over-tightening can shorten cover life and create failure points.
For trailering, stop after a short distance to check strap movement, fabric flutter, and contact points. Customer reviews may mention highway use, but treat those as individual owner experiences, not guarantees for your boat, route, weather, or installation.
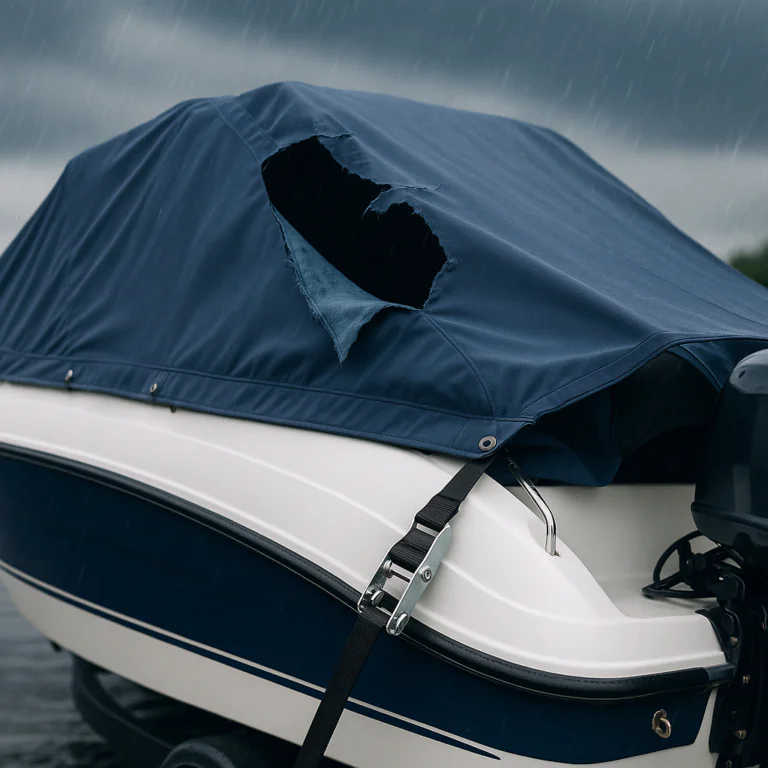
Weather protection depends on more than tension
Rain, snow, UV exposure, wind, and condensation create different problems. A ratchet system mainly controls movement. Water shedding still depends on fabric, seams, slope, and support. Moisture control still depends on airflow and inspection.
- Use support poles or bows where the cockpit can sag.
- Inspect after strong wind or heavy rain.
- Use vents or airflow paths during long storage.
- Protect rub points around rails, windshield edges, cleats, and hardware.
For deeper context, read the waterproof boat cover guide and the ventilation guide.
Maintenance routine
Rinse dirt, salt, and road film from the fabric and hardware. Let the cover dry before folding. Inspect straps, buckles, seams, vents, and reinforced corners. Replace frayed straps or damaged hardware instead of relying on temporary knots.
Photograph the strap routing before removing the cover at the end of the season. That simple habit makes reinstalling faster and reduces tension mistakes the next time you cover the boat.
Common mistakes to avoid
- Using a storage-only cover for regular trailering.
- Buying by model name without checking length and beam.
- Over-tightening until seams distort.
- Leaving water to pool on unsupported fabric.
- Ignoring chafe points on rails, windshield edges, or trailer hardware.
- Folding the cover while damp.
Related Ratchet and Trailering Guides
A weather-safe ratchet setup depends on fit, support, strap routing, and inspection. For the setup sequence, read the ratchet boat cover installation guide. For trailering decisions, compare it with the trailerable boat cover guide and the ratchet cover benefits guide.
Before towing, review the NHTSA trailering and towing guidance and check local conditions with NOAA marine weather forecasts.
Final take
A weather-safe ratchet boat cover is valuable when it combines accurate fit, steady tension, support, ventilation, and routine inspection. Focus on the whole system, not just the ratchet. If the cover fits the boat and is installed carefully, the ratchet system can make protection more repeatable through storage and trailering.
For a simple buying and storage checklist, download the free Safeboatz Boat Protection Guide.
Ratchet Cover Setup Framework
Think of a ratchet cover as a system with four parts: measurement, support, tension, and inspection. Measurement decides whether the cover can sit naturally on the hull. Support creates slope so water has somewhere to go. Tension keeps the hem and straps from moving more than necessary. Inspection catches the small changes that happen after rain, wind, sun, and road vibration.
This framework is especially useful when a cover looks almost right but still performs poorly. If water pools, the first fix is usually support and slope, not more ratchet force. If the cover lifts at the stern, check whether the hem is seated and whether the strap path is pulling evenly. If the fabric rubs at a windshield corner or cleat, add soft padding and correct alignment before tightening again.
Pre-tension checks
- Confirm the cover is centered from bow to stern before attaching straps.
- Raise support poles or bows while the fabric is still loose enough to shift.
- Pad sharp hardware, windshield corners, trolling motor brackets, and rail ends.
- Route straps so they do not touch tires, brake lines, hot exhaust parts, or sharp trailer brackets.
- Leave ventilation paths open instead of sealing every edge tight against the hull.
Troubleshooting Common Ratchet-Cover Problems
Water pools even when the ratchet feels tight
Pooling usually means the fabric lacks slope. Loosen the system, reset support, and create a high point before tightening again. Pulling harder can stress seams without solving the low spot.
The cover flaps while towing
Check whether the cover is rated for trailering, then inspect strap spacing, loose fabric at the bow, and open edges around the stern. Stop after a short test drive and make small corrections before highway use.
The ratchet is hard to release
Do not force it under load. Take tension off the strap, keep fingers clear of the mechanism, and inspect for twisted webbing, grit, or corrosion before reinstalling.
FAQ
Is a ratchet cover better than an elastic hem cover?
It depends on use. Ratchets give more controlled tension, while elastic hems help the cover seat around the hull. Many good trailerable covers use both.
Can I tow with a ratchet boat cover?
Only if the cover is designed for trailering and installed according to the manufacturer’s instructions. Check fit after a short test drive.
Should I use support poles with a ratchet cover?
Yes, if the cover can sag over the cockpit, bow, or seating area. Tension alone does not prevent pooling in flat sections.
How often should I inspect the cover?
Inspect before towing, after storms, during long storage, and whenever you notice sagging, loose straps, or rubbing.
Boating Enthusiasts — Join the Crew!
Free Boat Protection Guide Download Yours Now
Get your free copy of The Complete Boat Protection Guide — expert tips, real-world strategies, and exclusive insights from the Safeboatz team.