![]()
Ratchet Boat Cover Guide: How to Install & Maintain
Ratchet Boat Cover Guide: Secure Fit, Install, Maintain
Ratchet boat cover protection starts with the right hardware and fit, and in this guide you’ll learn how to choose, install, and maintain a cover that stays tight on the trailer and secure in storage. If you want repeatable tension and reliable trailering performance, a ratchet system is often the right answer. This introduction previews the mechanics, fabrics, measuring steps, and practical checks you should use before every tow. For accurate sizing begin with our measuring guide and cross-reference safety basics from the U.S. Coast Guard at USCG boating guidance.
Throughout the article you’ll find step-by-step lists, common mistakes to avoid, and quick retrofit solutions you can use at home. Expect clear examples for runabouts, pontoons, and trailerable boats so you can pick the right ratchet style and fabric for your needs.
What is a ratchet boat cover and why use one?
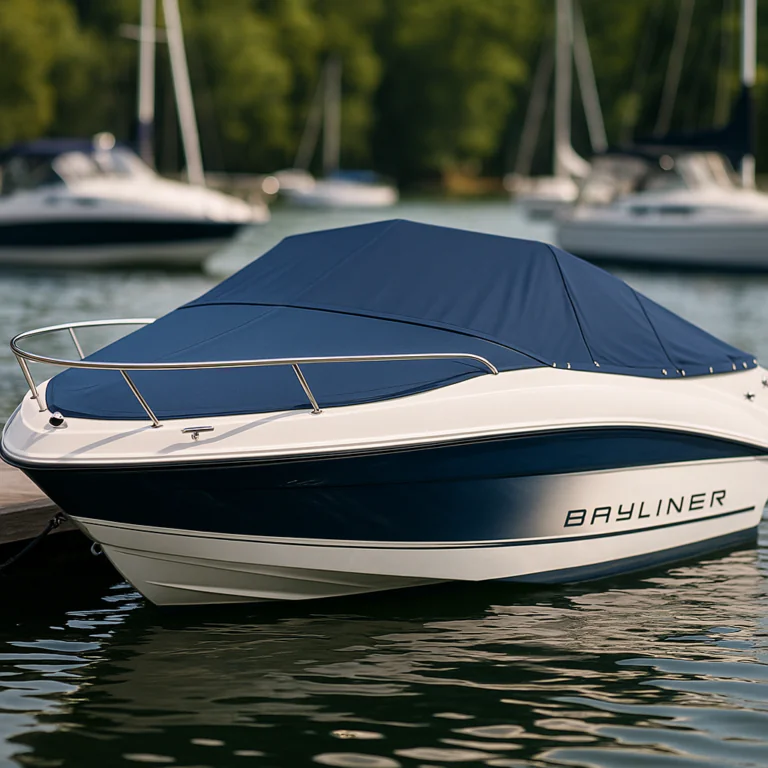
A ratchet boat cover uses mechanical tensioning to hold the cover tight to the hull and trailer. Unlike elastic hems or simple drawcords, ratchet systems provide a repeatable tension that you can set and return to every time. That repeatability is the core reason many boaters choose ratchets for trailering or exposed storage.
How ratchet fastening systems work (rope ratchet vs strap ratchet)
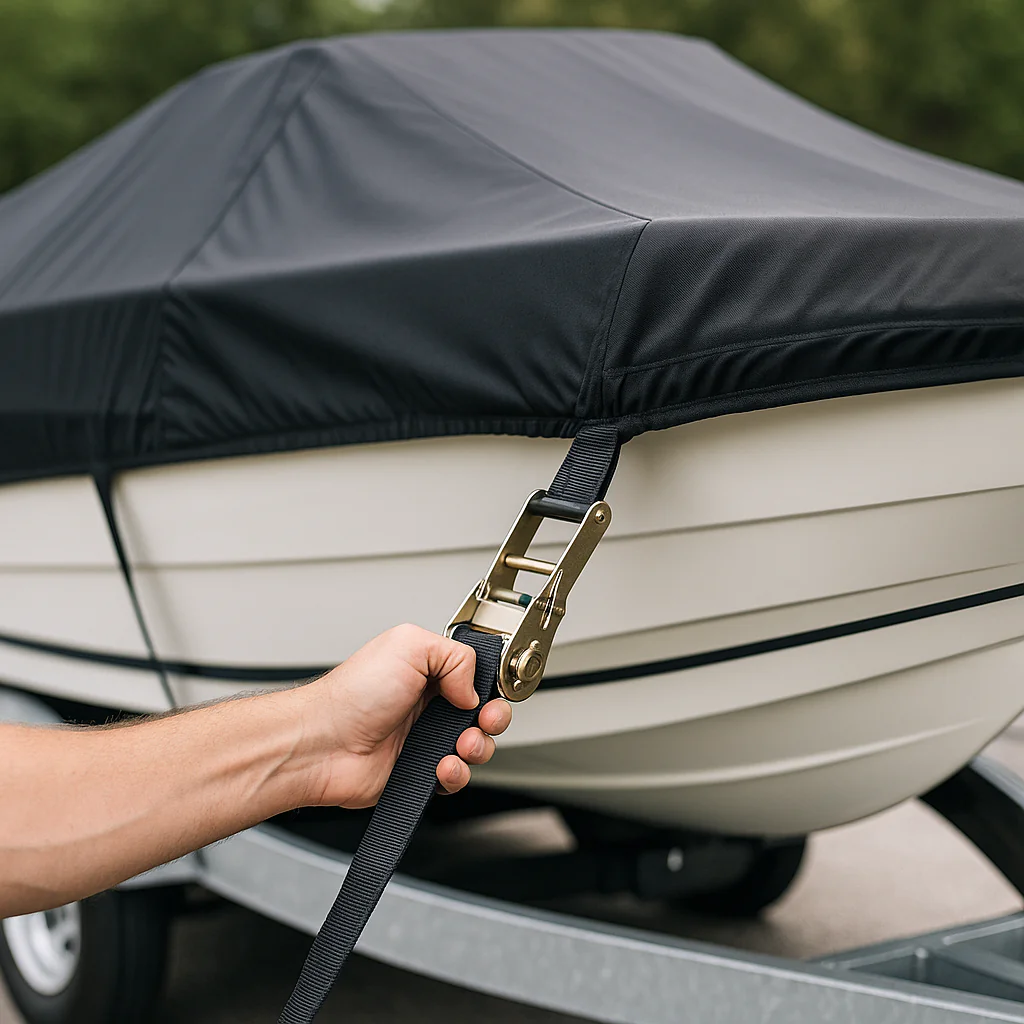
Ratchet hardware comes in two common families: rope ratchets and strap (buckle) ratchets. A rope ratchet uses a braided line and a thumb-lever pawl that grips the rope; it’s lightweight, easy to install, and great for small boats. A strap ratchet uses wide polyester webbing and a mechanical sprocket-style ratchet to pull heavy loads tight. The strap ratchet delivers higher working load limits and better distribution over wide seams or gunnels.
- Rope ratchet: ideal for quick fixes, light-duty trailering, and smaller hems.
- Strap ratchet: best for pontoon boats, heavy-duty towing, and long-distance highway use.
- Cinch systems: simple, low-profile options for short moves or storage-only covers.
Key benefits: security, quick tensioning, adjustability for towing & storage
Ratchet systems give you quick tensioning, secure lock-in, and the ability to fine-tune pressure depending on whether you’re trailering or storing. You get fewer knots, less strap creep, and reduced fluttering at highway speeds. For storage, you can set a gentler tension that preserves seams; for towing, you dial it tight enough to prevent billowing without over-stressing the fabric.
Pro tip: Mark the ratchet lever or webbing at your preferred tension point so you can return to the same setting every time.
When a ratchet system is the right choice (boat types and scenarios)
Use a ratchet when you need consistent high tension or when wind and highway speeds make elastic systems unreliable. Examples where ratchets excel: pontoons with large flat surfaces, runabouts that travel long distances on trailers, and boats stored in windy, exposed lots. If you only cover a boat for short-term mooring in calm conditions, a simpler cinch may suffice; otherwise choose a ratchet for durability and safety.
Types, components & materials of ratchet boat covers
Choosing the right combination of hardware and fabric is critical. A well-matched pair—UV-rated ratchets with the correct webbing diameter and a compatible hem—delivers years of reliable service. Below are the parts and materials to evaluate before you buy or retrofit a system.
Ratchet hardware types: rope ratchet, buckle/strap ratchet, cinch systems
Rope ratchets use braided lines, often 1/4″ to 3/8″ UV-coated rope; they’re compact and simple. Strap ratchets use 3/4″ to 1.5″ polyester webbing and are rated for much higher loads. Cinch systems are lighter-duty and use cord-locks or simple buckles. When selecting hardware, look for stainless or zinc-coated steel, sealed moving parts, and a specified working load limit.
- Light use: rope ratchet with 1/4″ UV rope.
- Heavy use: 1″ polyester webbing with strap ratchet.
- Saltwater: stainless hardware and corrosion-resistant finishes.
Cover fabrics and construction: marine polyester, solution-dyed acrylic, reinforced hems
Fabric choice affects breathability, UV resistance, and snow-load performance. Solution-dyed acrylic breathes and resists UV fading, making it ideal for long-term storage. Marine polyester with PU coatings offers a balance of waterproofing and durability. Heavy PVC laminates shed snow and water but trap moisture unless ventilation is added. Look for double-stitched hems, taped seams, and stress patches where ratchets or grommets attach.
Ancillary components: webbing, grommets, edge protectors, bow/screw plates
Small parts matter. Use UV-rated polyester webbing, stainless grommets or washers, and leather or rubber edge protectors to prevent chafe. Bow plates or screw plates distribute load and keep rivets from pulling through. Inspect these points regularly; they’re the usual failure points when a system wasn’t engineered for towing loads.
How to choose the right ratchet boat cover
Choosing begins with precise measurement and ends with a balance of fit, material, and hardware. Start by measuring the hull and trailer profile, then decide whether you need a trailering-rated cover with reinforced tie-downs or a softer storage cover focused on breathability. Check warranty terms and replacement-part availability before you buy.
Step-by-step measuring guide for trailer and pontoon boats
Measure LOA (length overall), beam, and maximum height including towers or consoles. For pontoons, measure between outer pontoons and overall width including rails. Always measure the highest point and add clearance for cleats, towers, and consoles. When in doubt, use the precise steps in the measuring guide and add 6–12″ where consoles or equipment create vertical obstacles.
- Measure hull LOA from bow tip to transom (not trailer bunks).
- Measure beam at the widest point including rails and hardware.
- Measure height at the highest fixed point and add allowance for tie-downs.
Match cover style to use: storage-only vs towing-rated covers
If you tow regularly, choose a trailering-rated cover with reinforced hems, strap guides, and heavy-duty ratchets. For storage-only, prioritize breathable fabrics and ventilation. A storage cover can be lighter and more breathable; a tow cover must protect against wind, road spray, and long-term abrasion. When evaluating options, verify manufacturer towing ratings and whether replacement straps are available.
Budget, warranties, and durability metrics to compare
Balance price with expected lifespan. A heavier 900D or similar fabric with reinforced seams and stainless hardware typically lasts longer and reduces total ownership costs. Check warranty length and what it covers. Also consider repairability: can you replace a ratchet or webbing without replacing the entire cover? Weather planning matters too—check forecasts at NOAA before committing to winter storage choices.
Install, tension & maintain your ratchet boat cover
Installation is where fit and hardware meet real-world performance. Proper prep, a consistent tensioning routine, and regular maintenance will keep your cover secure and extend its life. Follow these steps and tests before any tow.
Prep and step-by-step installation (threading, positioning, initial tension)
- Inspect cover and hardware for defects and compatibility.
- Clean hull and remove debris; check trailer edges for sharp points.
- Position cover bow to stern, seat hem over rails, and align vents.
- Thread rope or webbing through grommets and seat ratchets at planned anchor points.
- Pre-tension by hand, then ratchet incrementally until snug but not pinching seams.
Use edge protectors where webbing crosses gunwales and mark the ratchet lever with tape at your preferred tension. When installing a rope ratchet, feed the rope carefully to avoid twists and feed the tail through the thumb lever until it locks.
Proper tensioning for storage vs trailering and how to test it
For storage, tension until fabric is smooth but not tight to the point of stress. For towing, tension firmly so there is no billowing at highway speeds. To test: after installation, take a short drive at typical highway speeds and recheck tension and strap security. Secure any excess webbing and attach secondary tie-downs where possible.
- Storage target: wrinkle-free fabric, gentle around seams.
- Towing target: no visible lift or flap at speed, ratchet pawls locked.
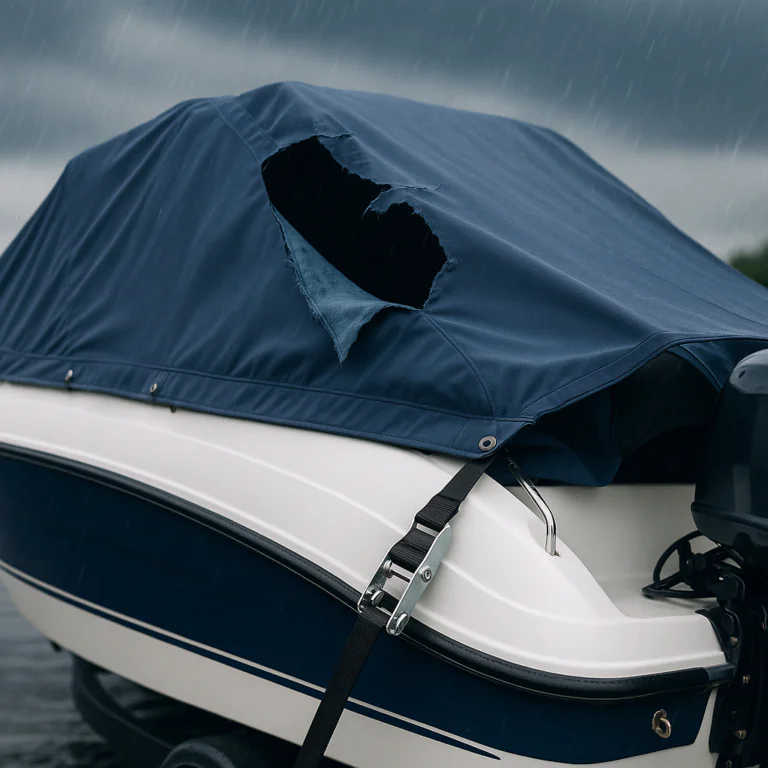
Cleaning, seasonal care, repairs and when to replace parts
Wash covers with a marine soap, rinse thoroughly, and dry completely before long-term storage. Inspect seams, grommets, and ratchets quarterly. Replace frayed webbing and corroded hardware immediately. A torn seam or failing hem often warrants cover replacement; a worn ratchet or strap can usually be replaced separately.
- Wash and dry before storage.
- Lubricate ratchet pivots with light oil annually.
- Replace webbing at the first sign of UV degradation.
Pro tip: carry a spare rope ratchet, a short section of webbing, and a grommet kit when you tow long distances.
Troubleshooting, reinforcing & retrofitting ratchet systems
Failure points are predictable: hems, grommets, webbing, and the ratchet mechanism. Identifying the symptom quickly lets you choose a temporary fix or plan a permanent repair. Always test towing safety after any repair or retrofit.
Common failures and quick fixes (frayed webbing, jammed ratchets, torn hems)
Frayed webbing can be trimmed and heat-sealed on polyester, but deep UV damage means replacement. A jammed ratchet often clears with careful cleaning and lubrication; never force a stuck pawl. Torn hems sometimes accept sewn or riveted patch repairs if a backing plate is used; if the main seam has failed, replace the cover.
Safety note: Temporary fixes like duct tape or zip-ties can hold you homeward but never substitute for a proper repair before regular towing.
How to retrofit a ratchet system to an existing cover (materials & steps)
Retrofit by adding a backing web inside the hem, installing reinforced grommet pockets, and routing new polyester webbing tied to strap ratchets. Use marine-grade thread, stainless grommets, and rivet or sew backing plates behind high-stress areas. After retrofit, test at low speed and recheck for shifted loads.
- Add a reinforcing web under the hem along intended strap paths.
- Install grommet pockets with backing plates at strap locations.
- Route new webbing and attach strap ratchets; test and adjust tension.
Safety checklist before towing and best-practice inspections
Always perform a quick pre-tow check: secure all ratchets, lock pawls, secure excess webbing, and confirm backup tie-downs. Inspect lights, registration, and weather. After any repair or retrofit, re-run the tension test and verify no load has shifted to new weak points.
- Check ratchet pawls and webbing condition.
- Confirm hem integrity at each tie-down.
- Secure loose tails and flag long straps for visibility.
Conclusion
To summarize: measure carefully, choose the ratchet type that matches your use, install with consistent tension, and maintain hardware and fabric. A properly installed ratchet boat cover reduces wind noise, prevents damage, and gives you confidence on every tow. Keep spare parts on hand and follow a simple pre-tow routine to avoid last-minute failures.
6-point pre-tow checklist
- Hardware check: ratchet pawls engage and webbing is intact.
- Tension check: no billowing at the bow or stern.
- Excess webbing: trimmed and secured or flagged.
- Secondary tie-downs: in place and snug.
- Lights & registration: functional and visible.
- Weather check: confirm forecasts at NWS forecasts if you’re crossing exposed areas.
When in doubt, evaluate whether a repair or full replacement is more reliable for safe towing. Use the practical retrofit steps in this guide if you plan a DIY upgrade, and always respect manufacturer ratings and local safety advice. For broader industry standards and recommended practices consult the National Marine Manufacturers Association at NMMA guidelines.
Boating Enthusiasts — Join the Crew!
Free Boat Protection Guide Download Yours Now
Get your free copy of The Complete Boat Protection Guide — expert tips, real-world strategies, and exclusive insights from the Safeboatz team.