![]()
17 ft Boat Cover Guide: Fit, Fabric and Storage Checks
Complete 17 ft boat cover guide: measuring, beam, motor position, fabric, waterproofing, ventilation, support poles, trailering checks and Safeboatz Storm fit context.
17 ft Boat Cover Guide: Fit, Fabric and Storage Checks
A 17 ft boat cover should be chosen from measurements, not only from the phrase “17 ft” in a product title. Two boats with the same listed length can have different beams, windshields, consoles, rail height, trolling motors, outboard positions, seating layouts, and storage needs.
The right cover should fit the boat’s actual shape, shed water, allow reasonable airflow, and stay stable during the way you use it. A cover for indoor storage is not the same decision as a cover used outdoors or while trailering.
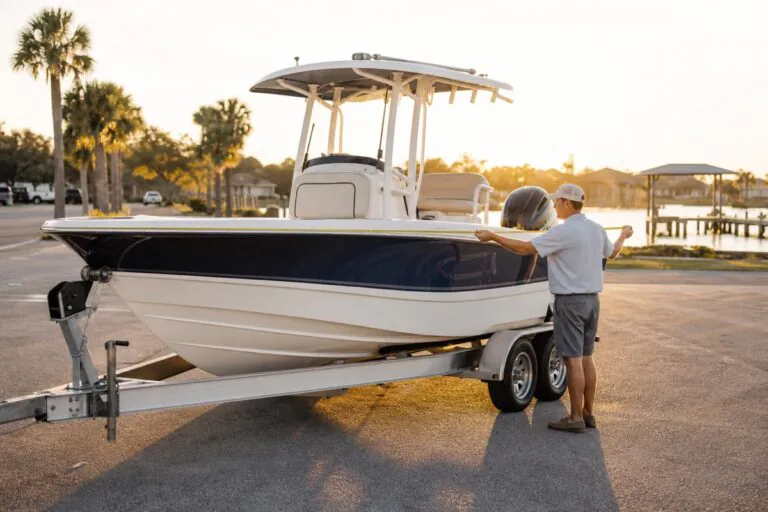
Start With the Measurements That Matter
Before comparing materials or strap systems, measure the boat in the setup you actually store or tow. If the outboard is usually tilted up, measure with it tilted. If the trolling motor stays mounted, account for it. If the windshield or console is high, measure the cover height needed to clear it.
- Centerline length: bow tip to the farthest stern point the cover must protect.
- Beam: widest point across the hull, including rub rails if they affect cover drop.
- Accessory height: windshield, console, folded bimini, rails, seats, or trolling motor.
- Motor position: outboard tilted up or down changes how the rear of the cover sits.
- Use case: indoor storage, outdoor storage, winter storage, or trailer use.
If you are unsure how to measure, use the Safeboatz boat measuring guide before buying.
17 ft Cover vs 17–19 ft Cover
Many covers are sold as ranges, such as 17–19 ft. That does not automatically mean every 17 ft boat will fit well. A range works only when the boat’s length, beam, drop, and accessory profile fall within the product’s fit guidance.
A 17 ft fishing boat with a tall console may need a different cover profile than a lower runabout. A bass boat with a trolling motor and pedestal seats may also need more allowance than a simple open layout. The size range is a starting point, not the final decision.
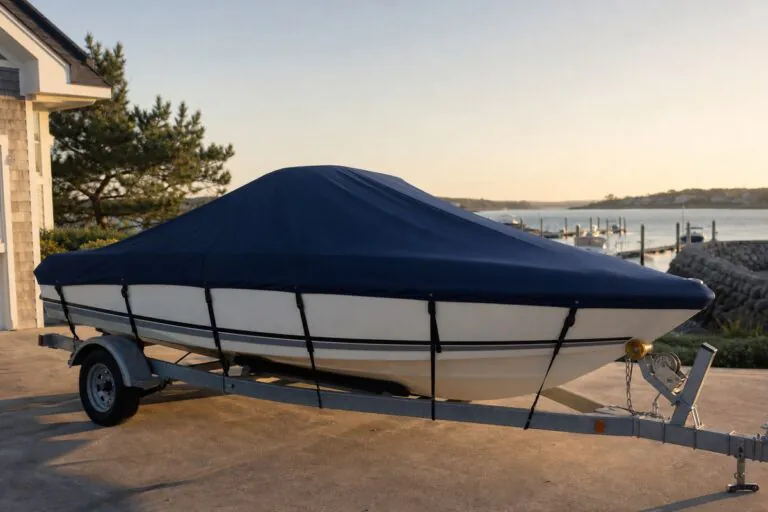
Storage Cover or Trailerable Cover?
For indoor storage, the cover’s job may be mostly dust protection. For outdoor storage, it must handle rain, sun, debris, airflow, and inspection. For trailering, the cover also needs controlled tension and a way to reduce loose fabric movement.
If you tow with the cover installed, look for a cover designed for that use and inspect it before each trip. Loose fabric can rub, shift, and wear faster around corners, windshields, rails, and the transom.
Fabric: What to Look For
Fabric weight matters, but it is only one part of the decision. For a 17 ft boat, look at the full system:
- Water-shedding fabric and coating.
- Seam quality and reinforced stress points.
- Strap routing and perimeter tension.
- Ventilation to reduce trapped moisture.
- Support poles or bows to reduce pooling.
- Fit around the motor, windshield, and accessories.
For material context, read what 900D polyester means for boat covers.
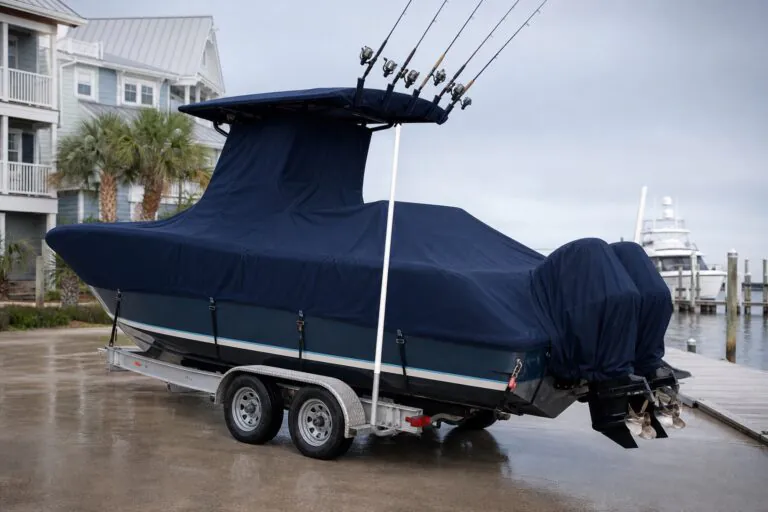
Waterproofing and Ventilation
A cover should shed water, but it should not trap damp air indefinitely. Moisture can come from inside the boat: wet carpet, bilge water, damp ropes, life jackets, or condensation. That is why ventilation and support matter even when the fabric is water-resistant.
Use support poles or a frame if water could pool over the cockpit. Check that vents are not folded closed or blocked. Inspect after the first rain or temperature swing to see how the cover behaves in real conditions.
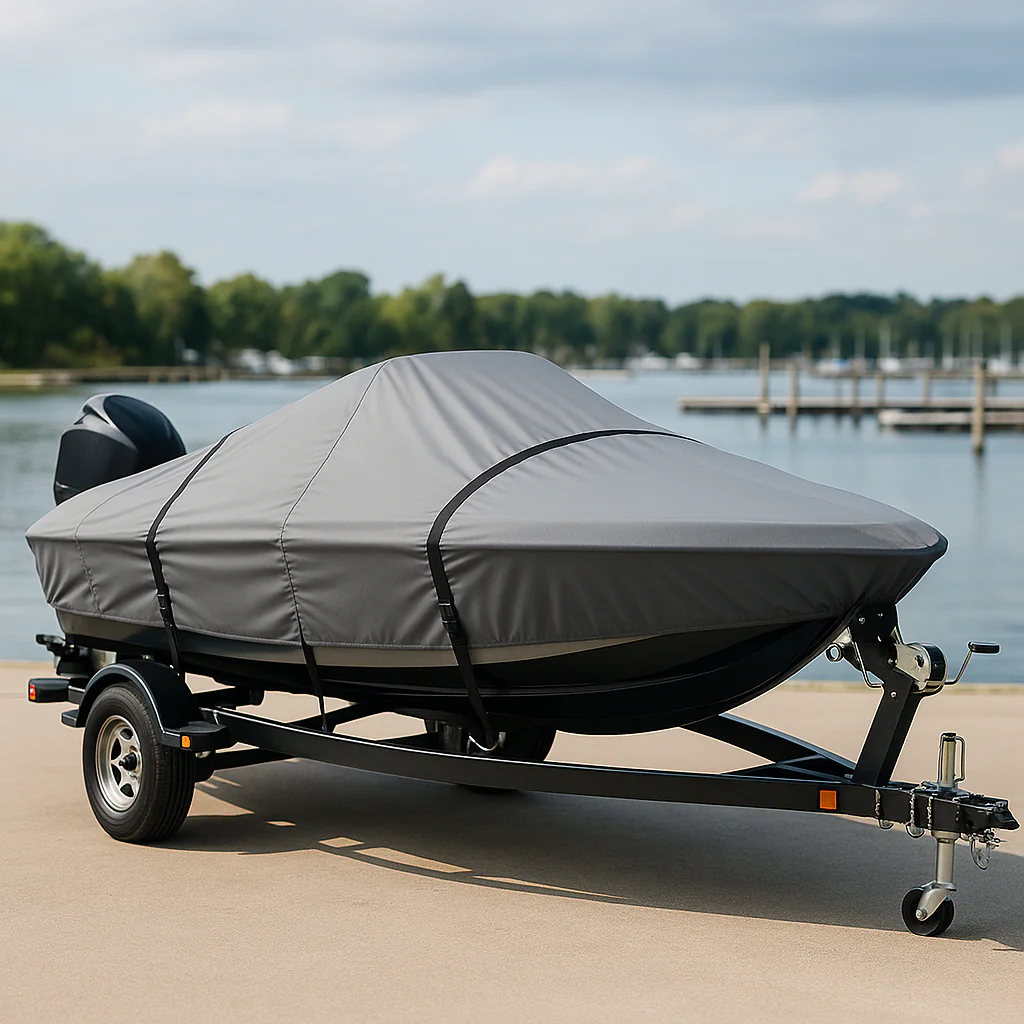
When the Safeboatz Storm 17–19 ft Cover Is Worth Comparing
If your boat measures within the supported range and you want a more controlled trailerable fit than a loose tarp, compare it with the Safeboatz Storm Series 17–19 ft trailerable boat cover.
Check your length, beam, motor position, and accessory height first. If your boat is closer to 20 ft or has a larger profile, compare the Storm Series 20–22 ft cover instead.
Pre-Buy Checklist for a 17 ft Boat Cover
- Measure centerline length and beam.
- Account for windshield, console, rails, motor, and accessories.
- Decide whether the cover is for storage only or trailering.
- Check fabric, seams, strap points, and ventilation.
- Plan support poles if water or snow could pool.
- Read the return policy before ordering, especially if your boat has unusual accessories.
Common Fit Mistakes
The most common mistake is buying from length alone. Other mistakes include ignoring beam, forgetting motor position, choosing a flat cover for an open cockpit, overtightening around sharp hardware, or assuming a tarp will behave like a fitted cover during wind.
If a cover is too large, it may flap and pool. If it is too small, it may pull at seams, leave exposed areas, or be difficult to install. The best cover is snug without forcing the fabric into stress points.
Final Take
A good 17 ft boat cover starts with measurement. Match the cover to the boat’s actual length, beam, accessories, storage conditions, and trailering needs. Then choose fabric, ventilation, support, and straps that match how the boat will be protected.
For a simple checklist before buying, download the free Safeboatz Boat Protection Guide.
FAQ
Can a 17 ft boat use a 17–19 ft cover?
Often yes, but only if the beam, drop, motor position, and accessory height fit the cover’s guidance. Length alone is not enough.
Should a 17 ft boat cover be waterproof or breathable?
It should shed water and still allow enough airflow to reduce trapped moisture. Ventilation matters for outdoor storage.
Is a tarp enough for a 17 ft boat?
A tarp can work temporarily, but it usually fits poorly, needs careful support, and is not the same as a fitted cover designed for storage or trailering.
Do I need support poles?
If water or snow could pool over the cockpit, support poles or bows are strongly worth considering because they create slope and interior air space.
Related 17 ft fit and buying resources
A 17 ft boat cover decision starts with measurement, then fabric, tie-downs, and storage conditions. Compare this guide with the Safeboatz measurement checklist, the 17–19 ft boat cover guide, and the trailerable cover guide. If your boat is near the upper end of the range, compare the 17–19 ft Storm Series cover with the model-based cover guide.
For neutral context, review NHTSA trailering and towing guidance and U.S. Coast Guard boating safety resources.
Boating Enthusiasts — Join the Crew!
Free Boat Protection Guide Download Yours Now
Get your free copy of The Complete Boat Protection Guide — expert tips, real-world strategies, and exclusive insights from the Safeboatz team.